Thank you for purchasing Hudsonbiz WordPress Theme! In this document you will find the latest information on how to install, manage and update your theme, as well as create content, install plugins, import Demo data etc. If you like our theme and want to support us please rate it 5 star from your Downloads Section
ITEM NAME: Hanson - Multipurpose WordPress Theme
ITEM VERSION: 1.6
MINIMUM REQUIRED: WordPress version 4.3.0
AUTHOR: iThemesLab
SUPPORT VIA EMAIL: ithemeslab[@]gmail.comTheme Installation
#back to topOnce you purchase Hanson from Themeforest, you can download the theme package. After you UnZIP the package you will find the theme file in it hanson.zip . There are 2 ways to install your theme, both are described step by step below.
Installation via WordPress
#back to topStep 1: Login to your WordPress Dashboard
Step 2: Go to Appearance > Themes. Click the Add New button or Add new theme link.
Step 3: Click on the Upload Theme button. Locate "hanson.zip" and click Install Now
Step 4: Click on the Activate button to activate Builder. Congratulations, you have now activated Builder! You can now proceed with Builder's Plugin Installation.
Installation via FTP
#back to topStep 1: Log into your Hosting server using an FTP client (like FileZilla or WinSCP).
Step 2: Locate "hanson.zip" that you found in your ThemeForest Package and unzip it somewhere on your hard drive. Once it is unzipped it will look like a folder named Hanson with all theme files in it.
Step 3: Locate your WordPress installation and upload the theme directory Hanson (you unzipped in the previous step) into ../wp-content/themes/ in your WordPress installation.
Step 4: Click on the Activate button to activate Hudsonbiz from your back-end. Congratulations, you have now activated Hudsonbiz! You can now proceed with Hudsonbiz's Plugin Installation.
Plugin Installation
#back to topOnce you activate the theme you will get a notice like (This theme requires the following plugins:) the screenshot below. Then click on Begin installing plugins

Once you click Begin installing plugins you will redirect to Install Required Plugins page just like screenshot below.
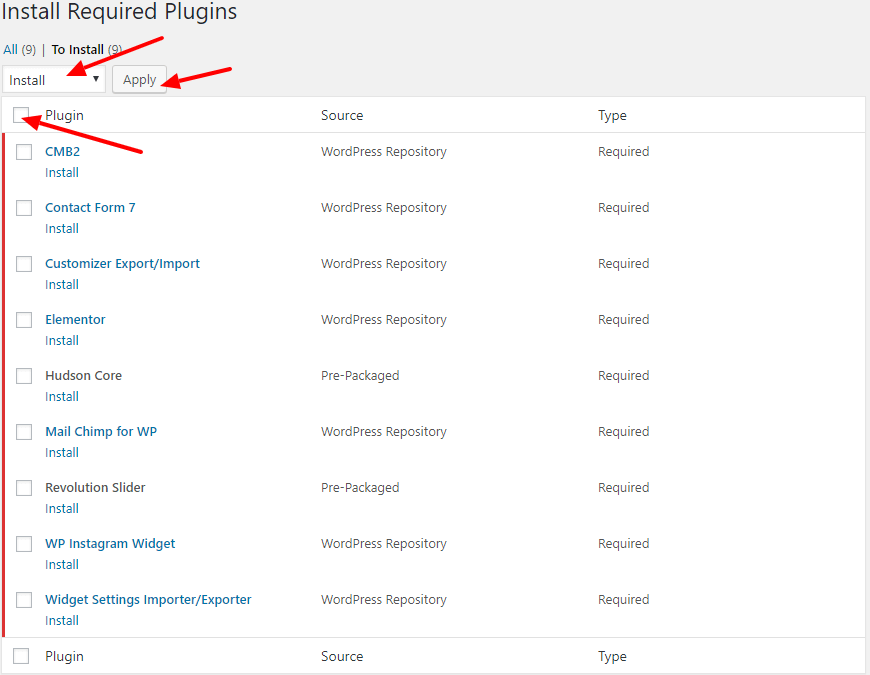
Step 1: Select All Plugins
Step 2: Select Install from dropdown menu.
Step 3: Click Apply and wait for a while.
Step 4: After installed all the plugins please activate all the plugins one by one.
Import Sample Data
#back to topTheme Sample Data
After activated all the plugins time to import sample data. Go to Tools > Import and install WordPress importer plugin.

After install the plugin click on Run Importer.

Please locate the Hudsonbiz.wordpress.sample.data.xml and click Upload file and import
Select a user and checked Download and import file attachments.
Click Submit and wait for a while.
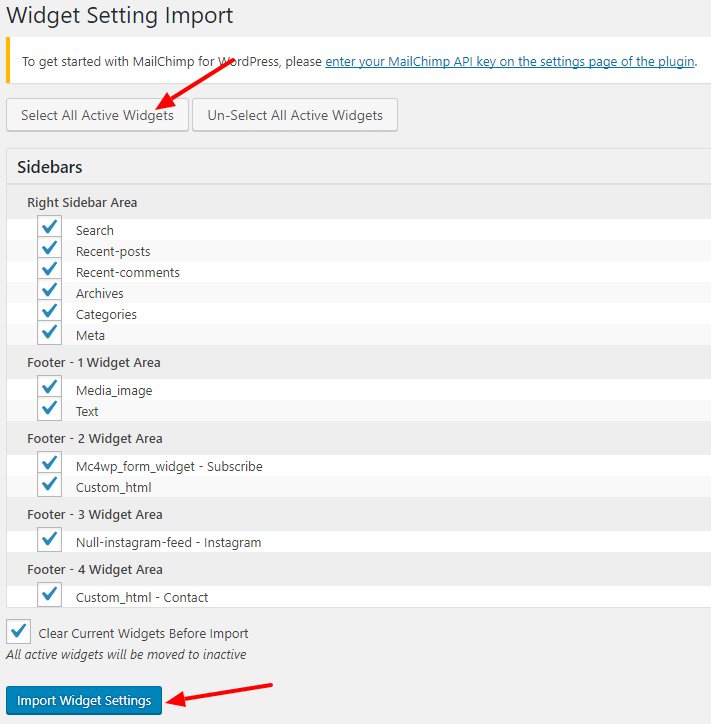
Widget Sample Data
Go to Tools > Widget Settings Import. Locate widget_data.json and click Show Widget Settings. Do as you can see in the screenshot below.
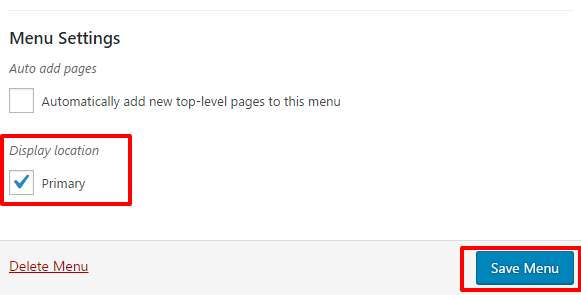
Menu Setup
#back to topIf sample data imported then go to Appearence > Menus and find Primary Menu from upper left dropdown list. Then assign the menu in Primary display menu location.

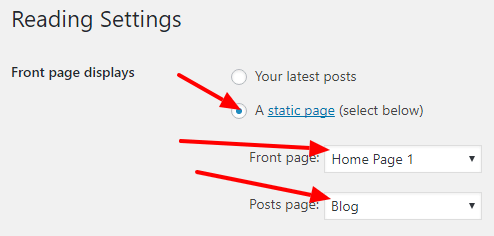
Assign Home Page
#back to topGo to Settings > Reading. Change the settings as like screenshot below.
Mega Menu Setup
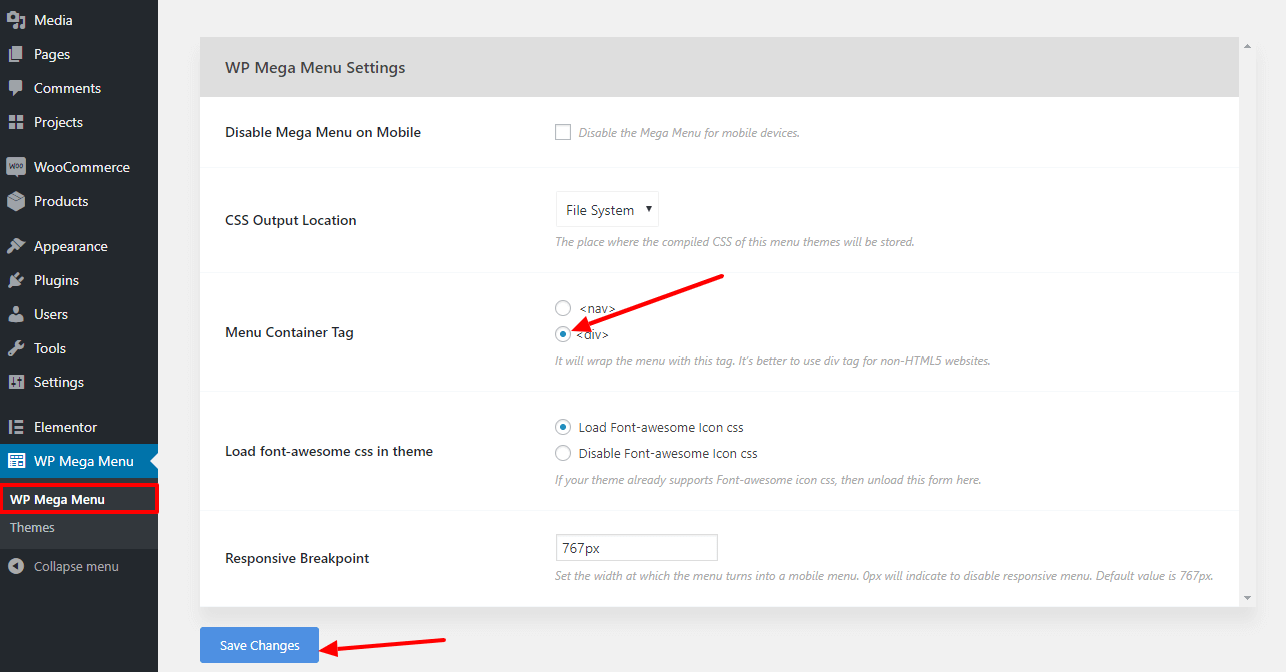
#back to topAt first you need to activate WP Mega Menu plugin.
After plugin activation go to WP Mega Menu and select Menu Container Tag to <div>.
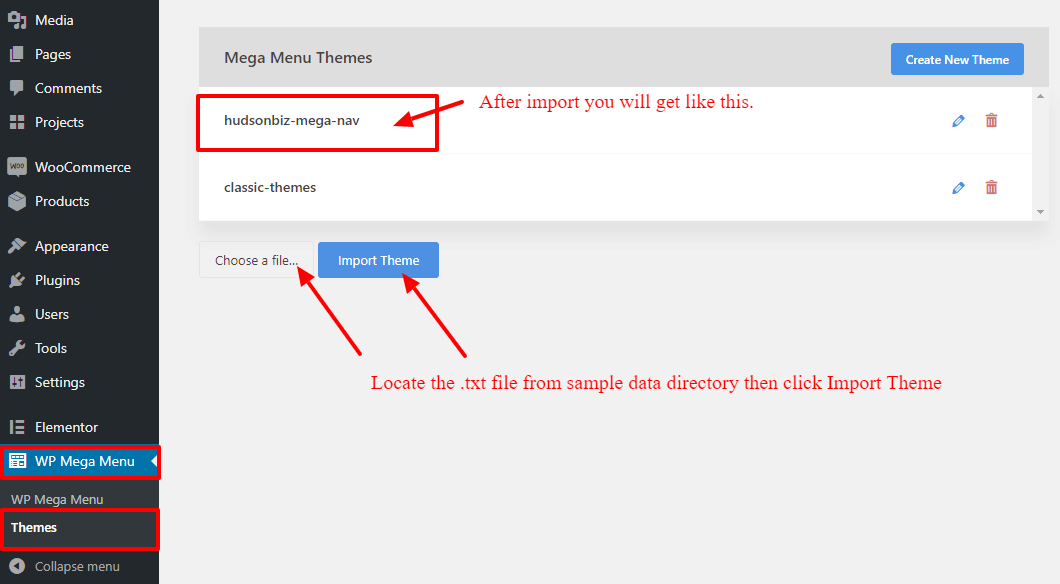
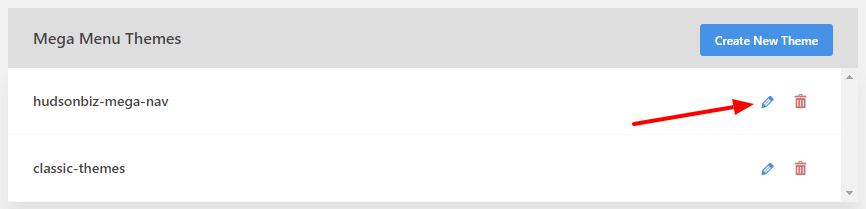
Then you need to import hudsonbiz-mega-nav theme. To do that please go to WP Mega Menu > Themes. Select the path of hudsonbiz-mega-nav.txt from your sample data directory then click on Import Theme.
Then go to Appearance > Menus and do the settings as like as the screenshot below.
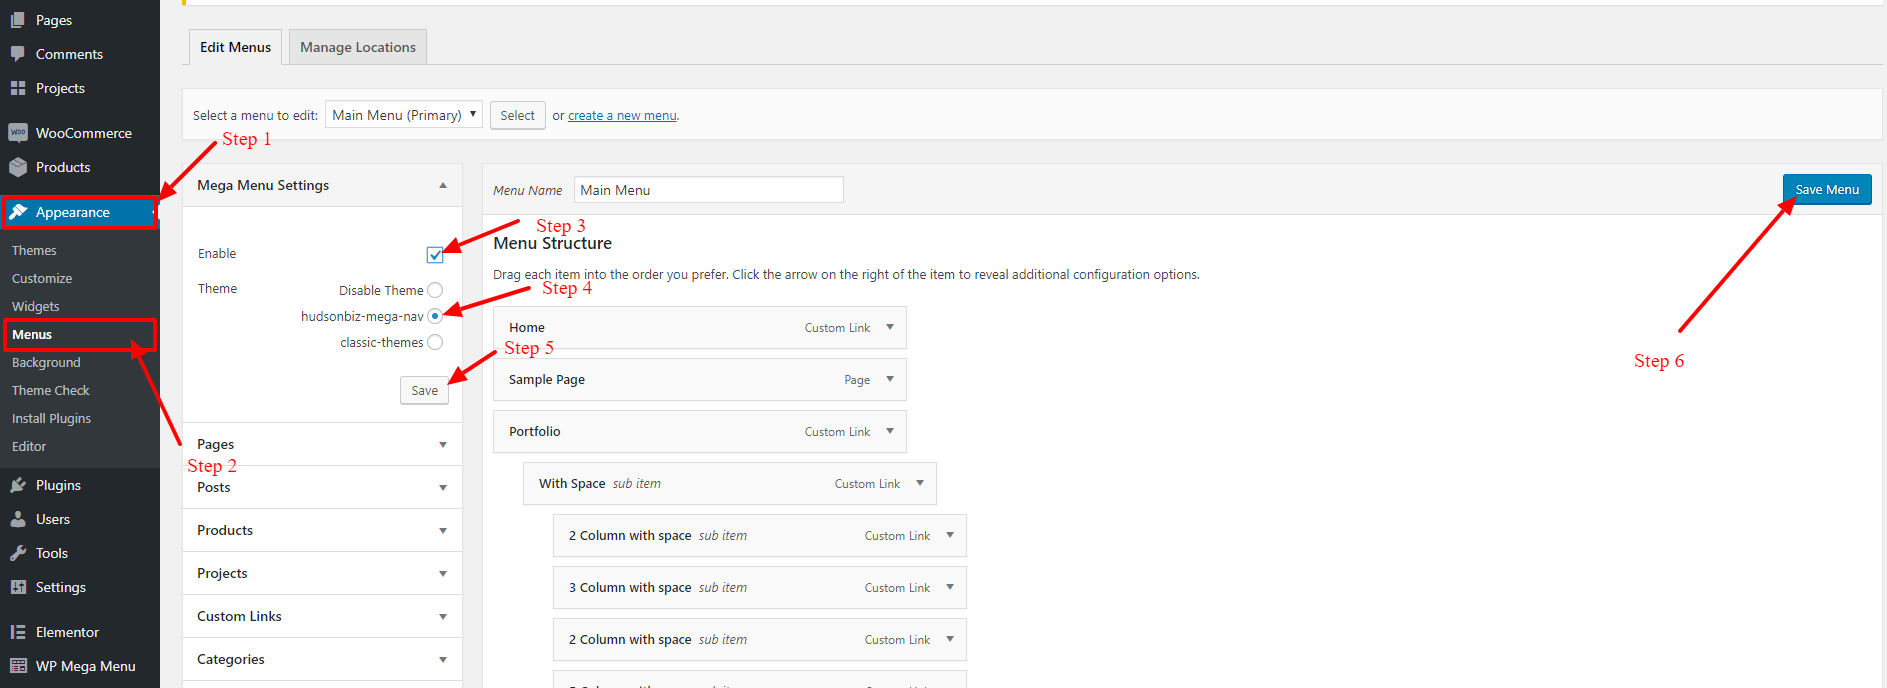
Finally you are ready to edit the Mega Menu
Import slideshow
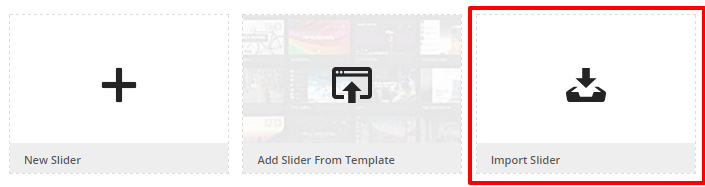
#back to topClick Slider Revolution from left side menu. Select Import Slider and locate Hudsonbiz-slideshow-1.zip or Hudsonbiz-slideshow-2.zip and click Import Slider
Placing slideshow
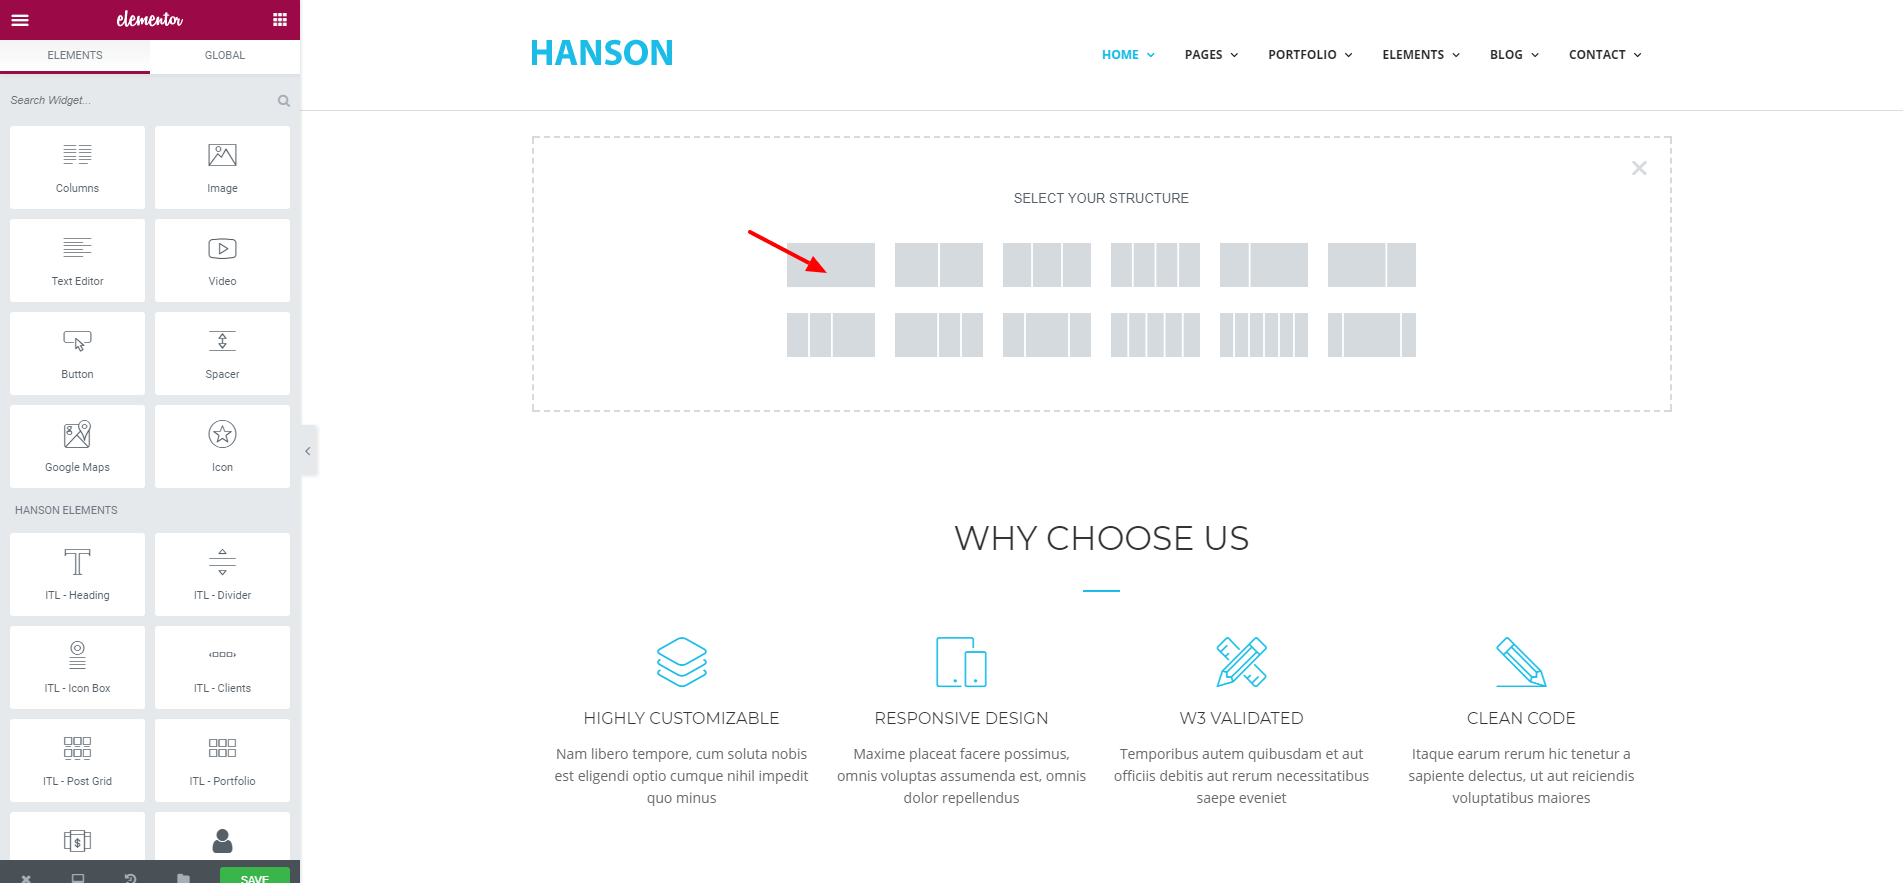
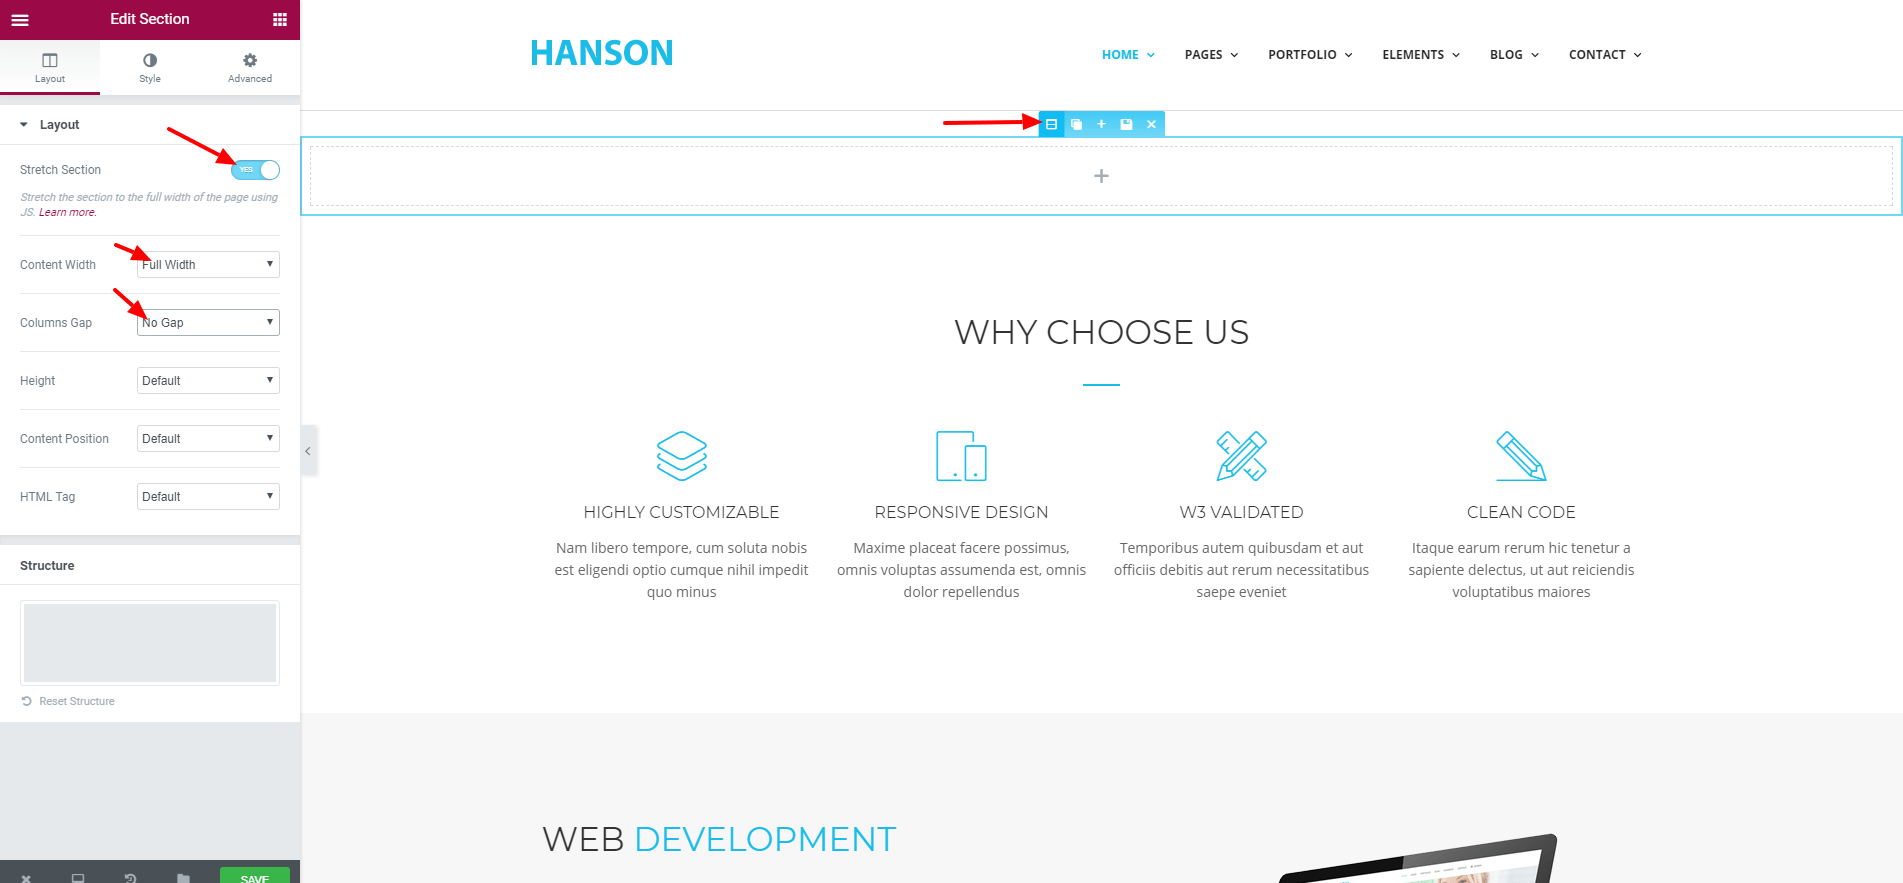
#back to topFirst of all you have to add a section. Please check the screenshot to know how to add the slideshow section and what will be the settings.
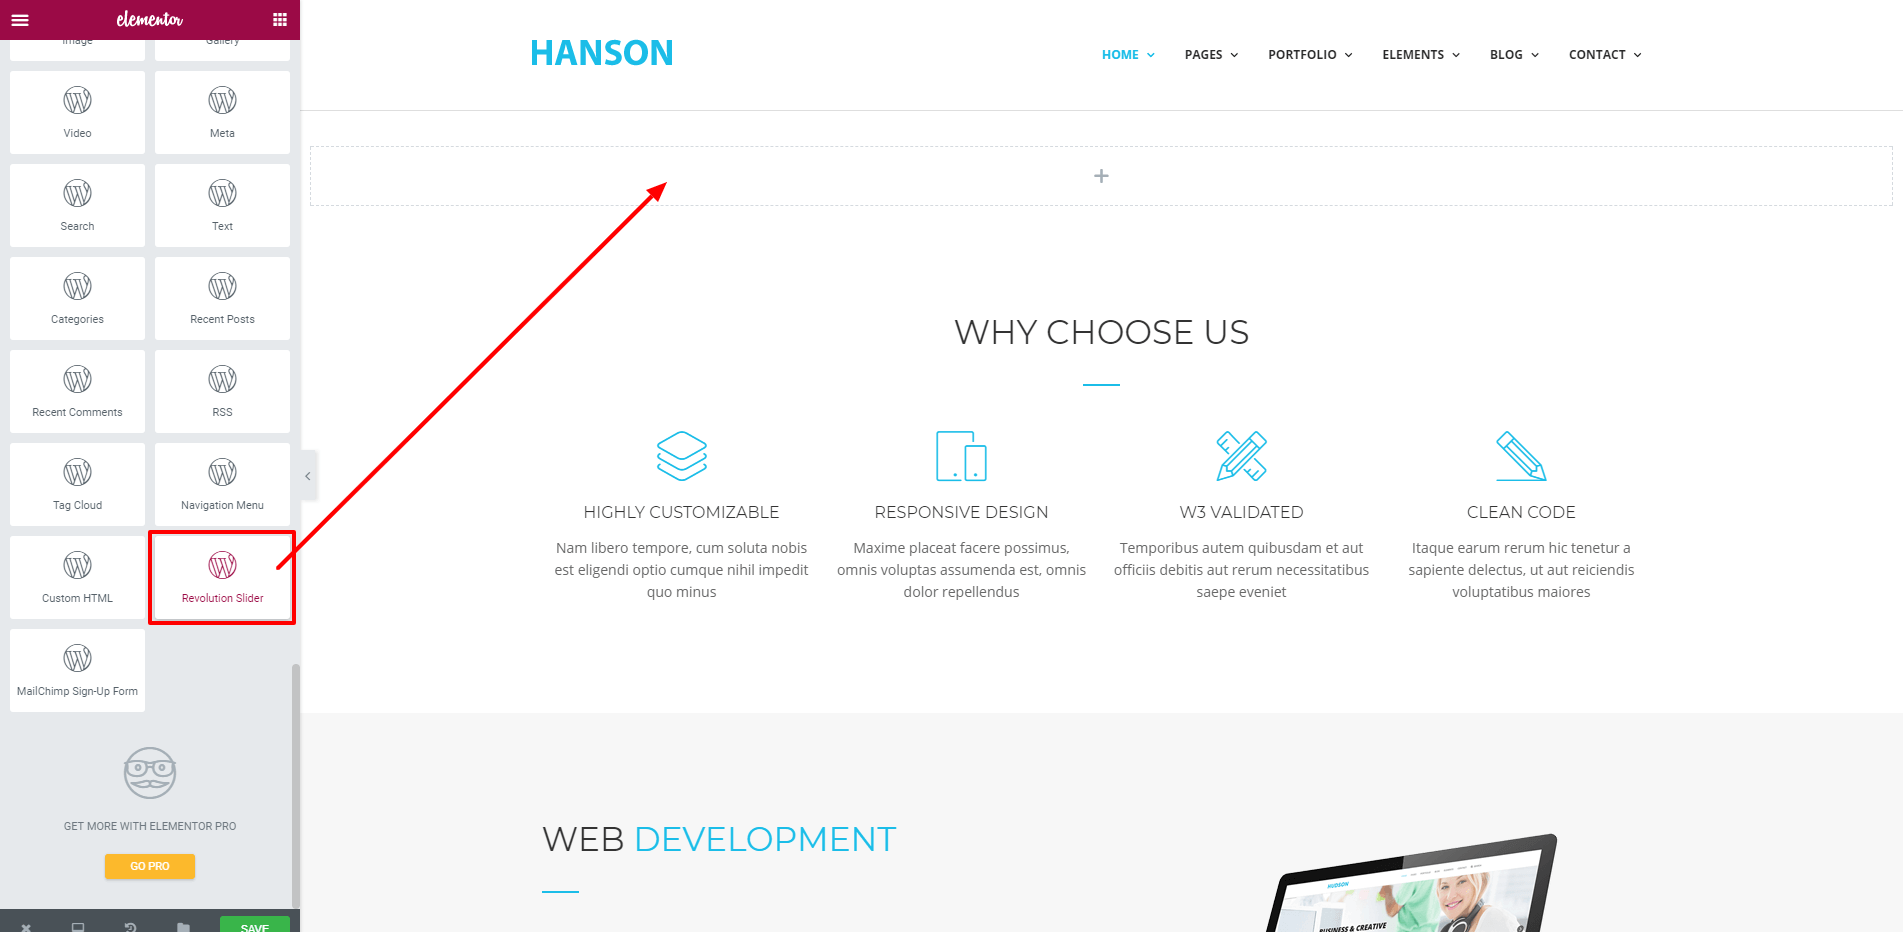
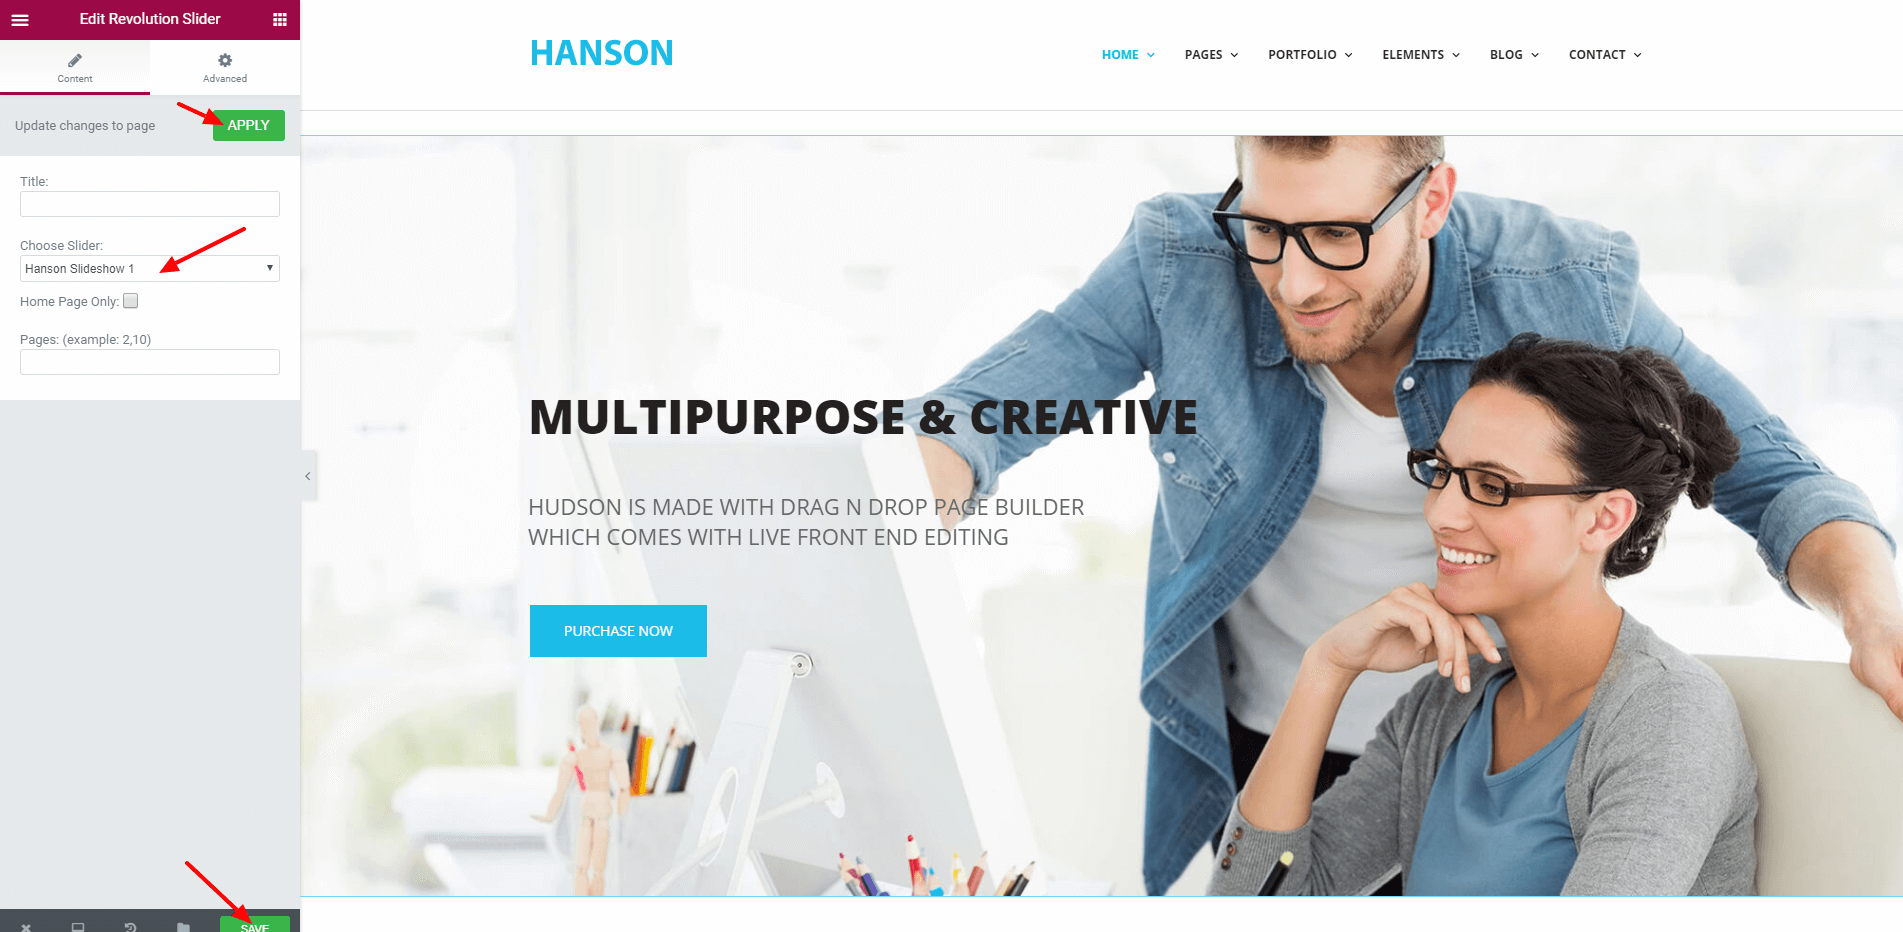
After creating section now its time to place the Revolution Slider in there. Choose Revolution Slider from widget area and drag it to that section. Select the slideshot then click to APPLY and then click on SAVE button.
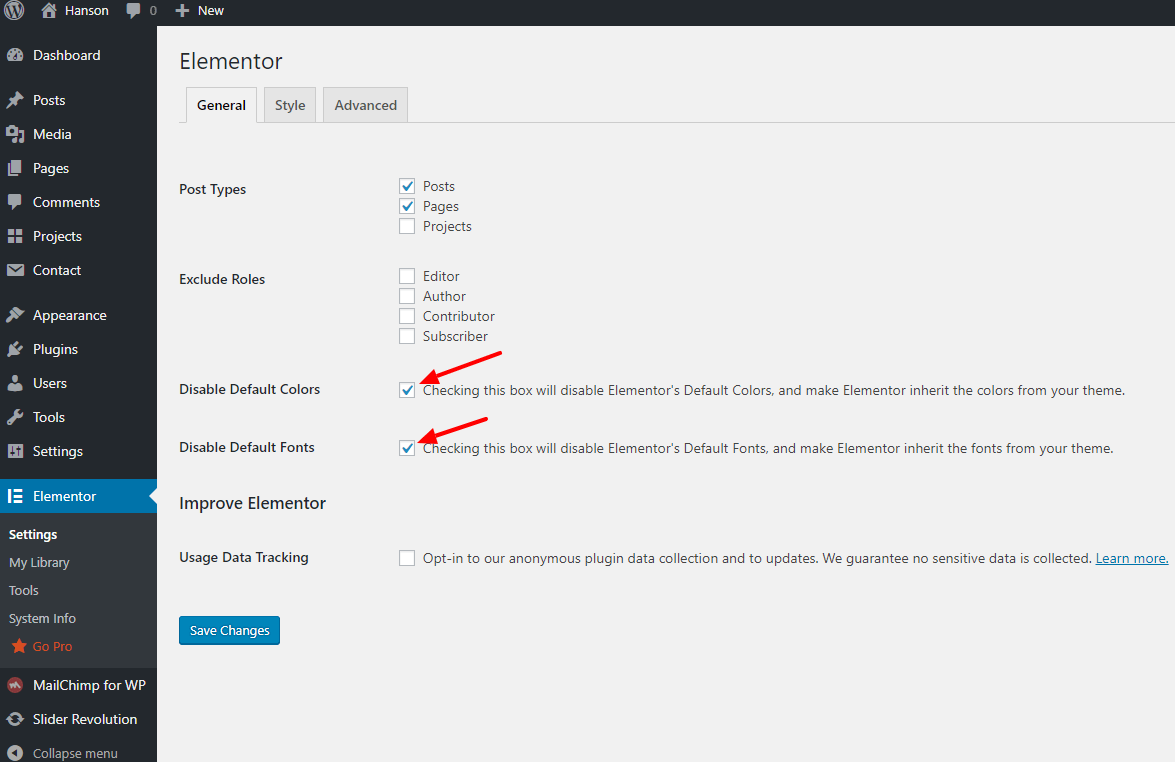
Elementor Settings
#back to topOnce you activate the ELEMENTOR page builder plugin the you must disable it's default styles to get the themes style.
Change Logo
#back to topGo to Appearence > Customize. On the customize panel go to Header Settings > Custom Logo and change the logo from options.
![]()
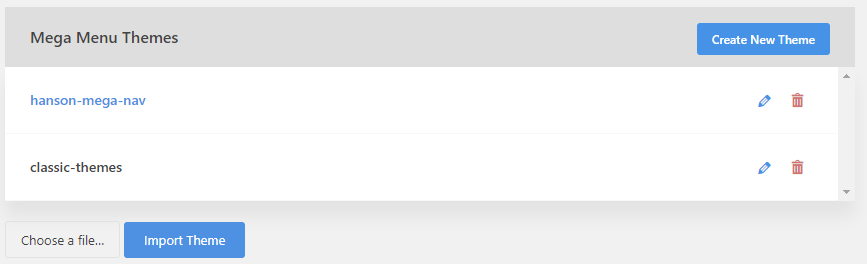
Change Logo using WP Mega Menu
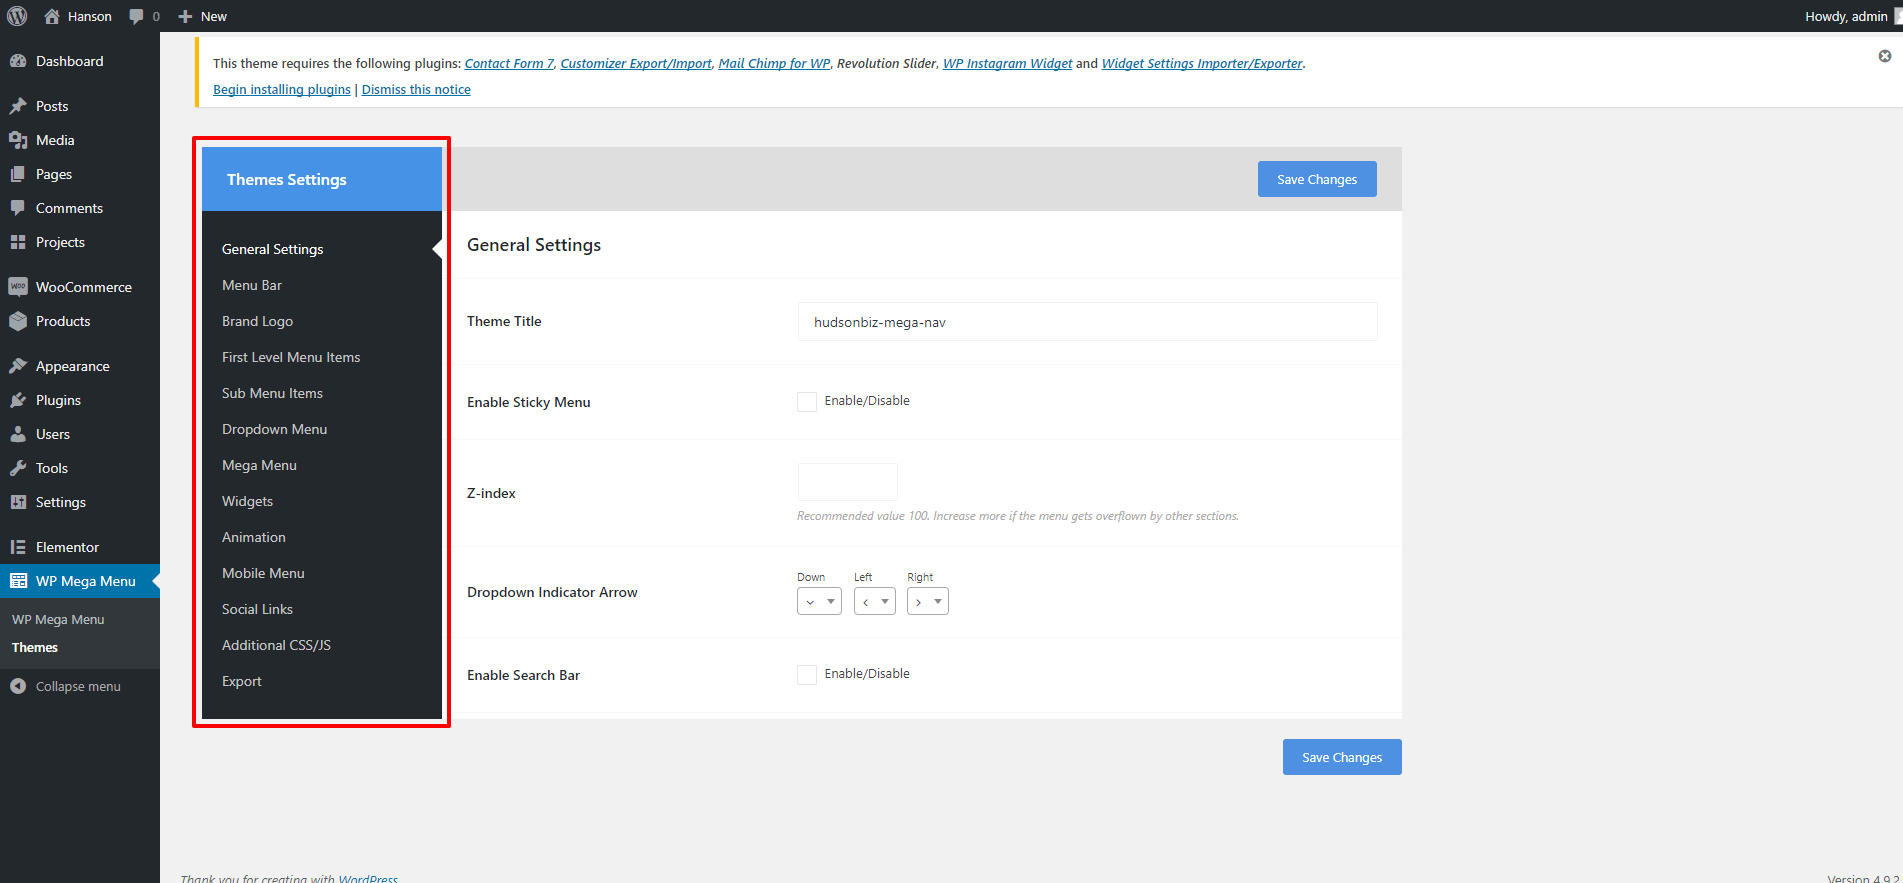
#back to topGo to WP Mega Menu > Themes > Hanson-Mega-Nav > Brand Logo and change logo from here for the mega menu.
Note: If WP Mega Menu plugin is enabled then normal menu will not work.
![]()
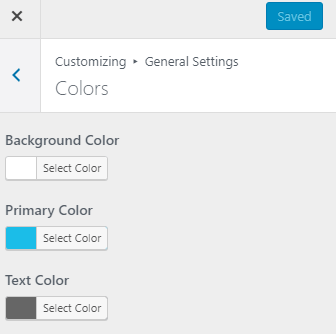
Change Primary Color
#back to topGo to Appearence > Customize. On the customize panel go to General Settings > Colors and change the primary color from options.
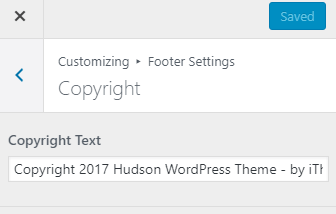
Copyright Text
#back to topGo to Appearence > Customize. On the customize panel go to Footer Settings > Copyright and change the copyright text from options.
Create Project
#back to topStep 1: At first go to Projects > Project Type and Create new Project Type
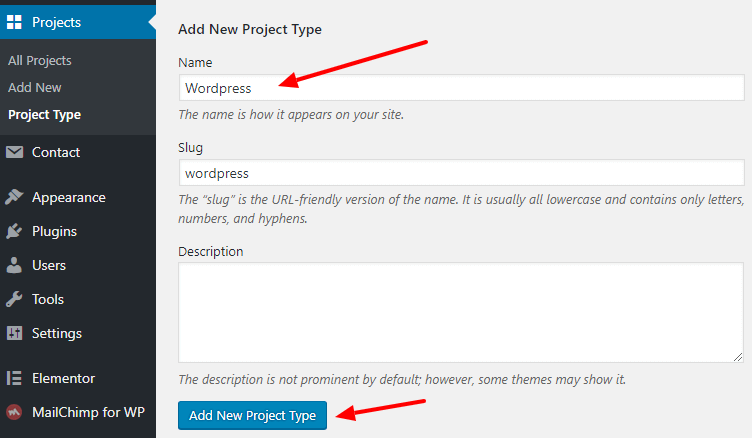
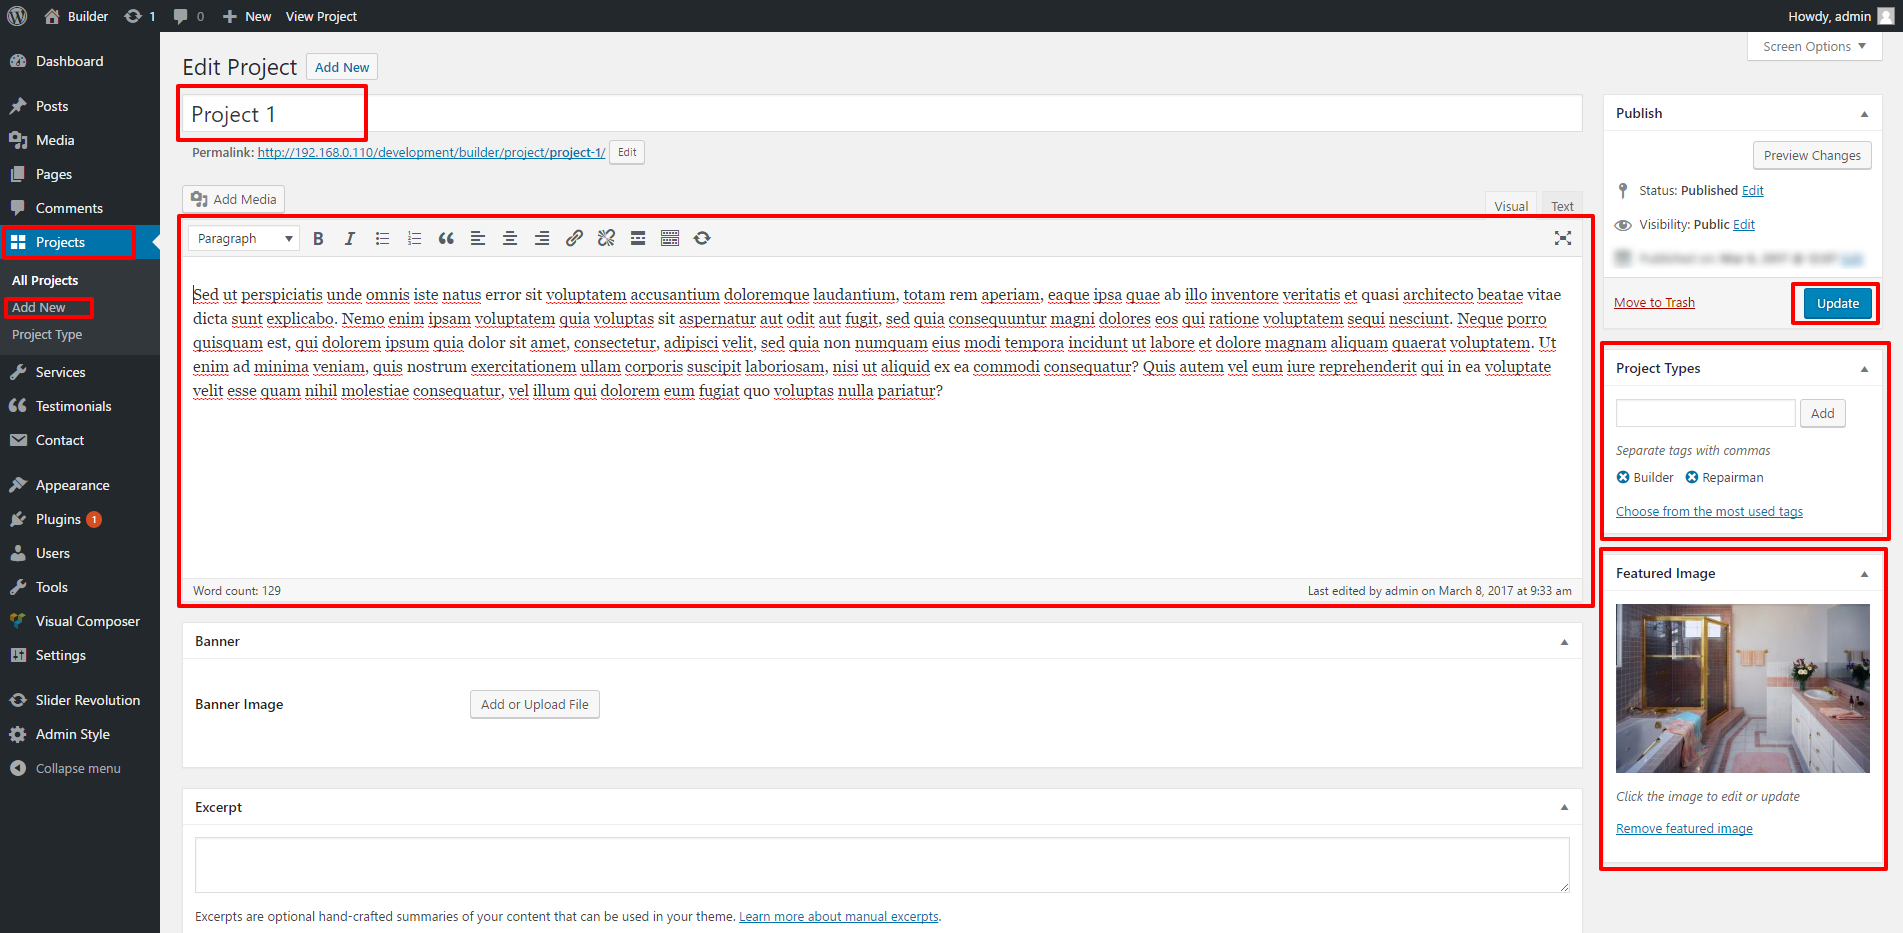
Step 2: Go to Projects > Add New and insert the Title Text Featured Image Project Types as per screenshot below.
Add Projects in page
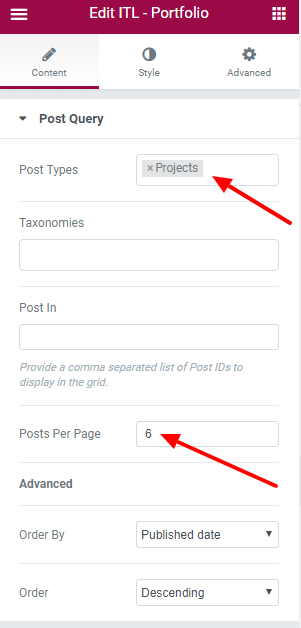
#back to topCreate New Page. Select ITL - Portfolio addon from left sidebar, drag it into the page and change the settings like below.
Create Testimonial
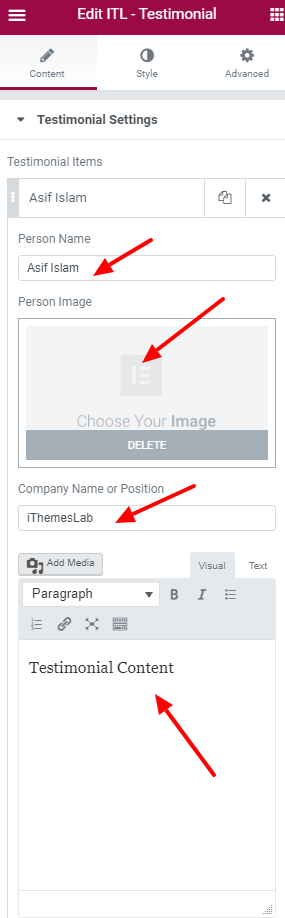
#back to topNow its really easy to make testimonial section. Select ITL - Testimonial from left sidebar, drag it into the page and change the settings.
Create Contact Form
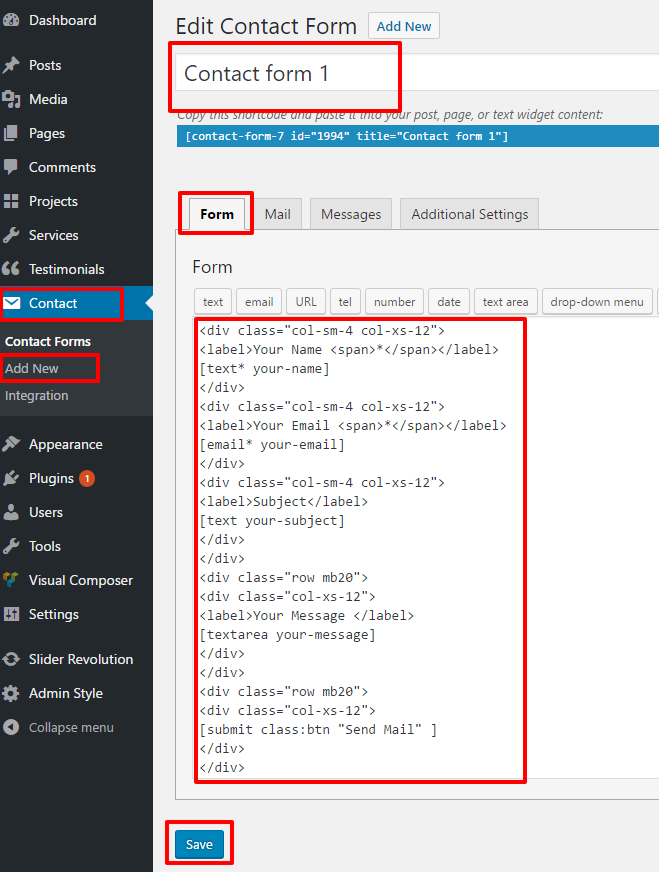
#back to topGo to Contact > Add New and insert the Contact Form Name. In Form tab you need to put some short code to get the form. Click here to get the contact form shortcode. Just copy that code and paste it in Form tab.
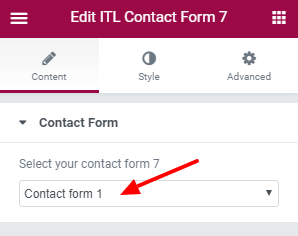
Add Contact Form in page
#back to topSelect ITL - Contact Form 7 addon, drag it into the page and select the contact form you want to use.
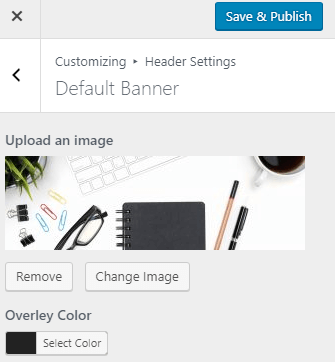
Change default banner
#back to topGo to Appearance > Customize > Header Settings > Default Banner and change the banner image from here.
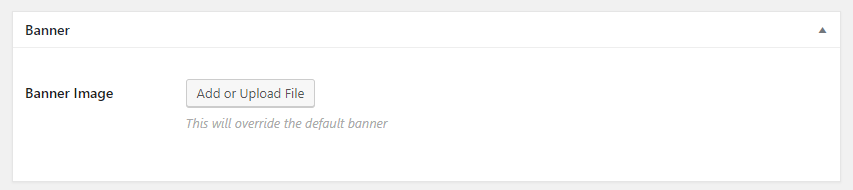
Change page banner
#back to topGo inside of a page and you will get a metabox under the WordPress editor like this. You can change the banner image of a page from here.